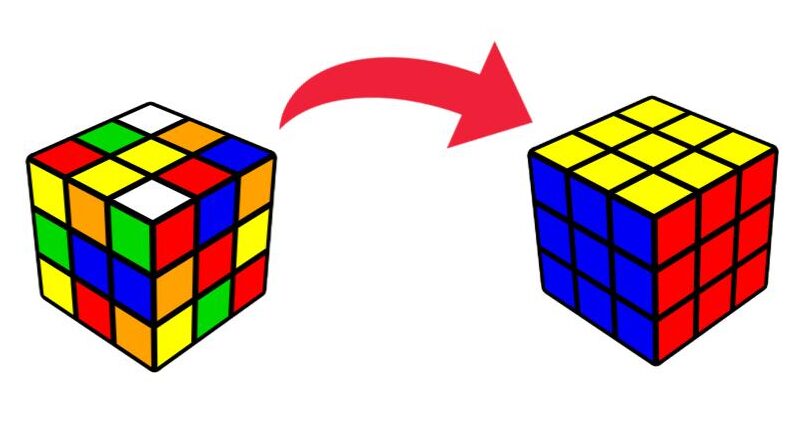
Solving a Rubik’s cube may seem hard, but with this simple step-by-step tutorial, you can accomplish that.
Using this method with some practice, you should be able to solve the cube around 2 – 4 minutes or even faster. However, if you want to be even faster, you should learn the CFOP Method.
Step 1: Cross
The first step of solving the Rubik’s cube is to create the cross. The most popular color to create the cross is white. This tutorial will also use the white cross, and I suggest you use the white cross as well.
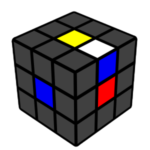
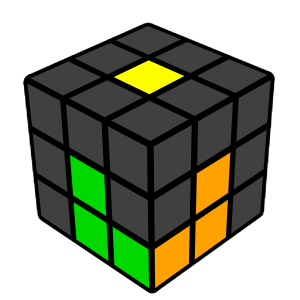
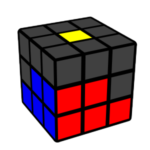
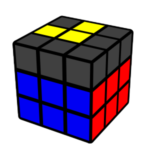
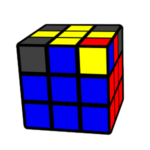
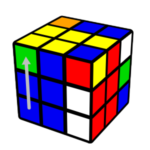
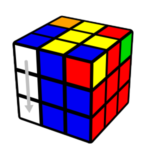
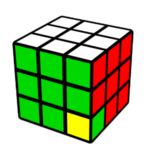
Hold the cube with the yellow centerpiece on top, then find an edge with white color on it.
Note: An edge is a piece with 2 colors on it.
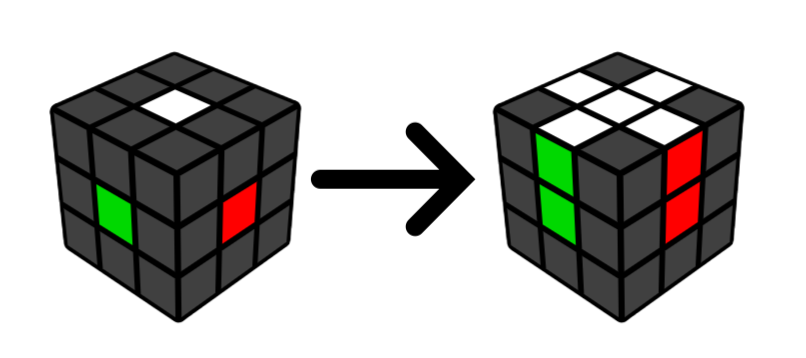
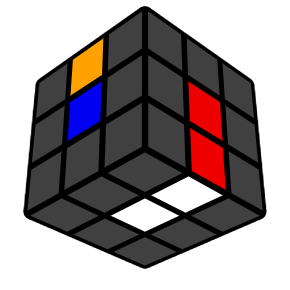
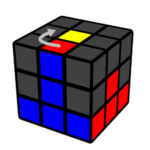
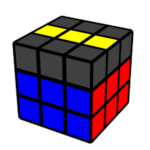
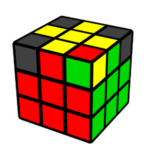
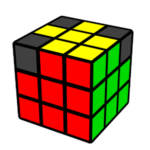
Move the white edges up next to the yellow center so that the white color faces upward. This creates a daisy.
Daisy shape
Example:
Another case you might see:
Note: Slide to see more.
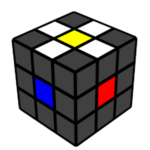
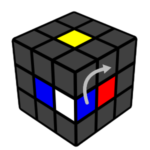
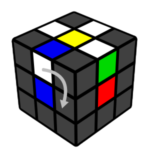
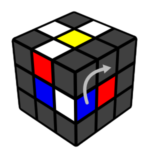
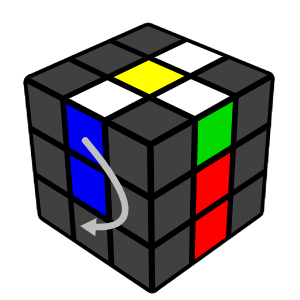
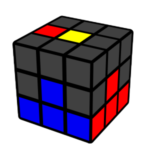
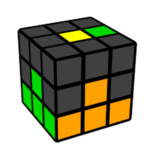
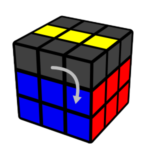
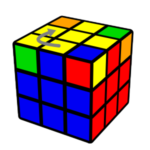
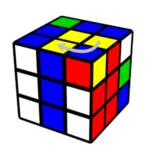
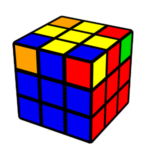
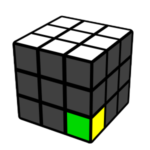
After finishing the daisy, you will match the white edge’s other color to the center. Then rotate it twice to make white face-down one by one.
The white-red edge is matching with the red center.
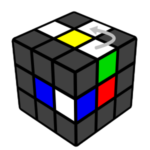
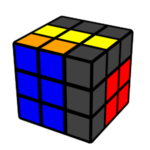
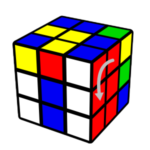
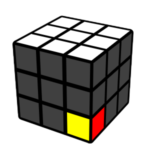
Another example:
The white-blue edge is matching with the blue center.
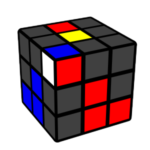
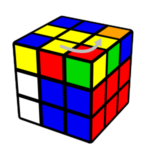
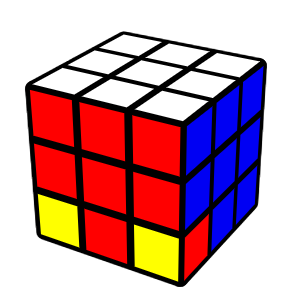
Repeat this step for other white edges to create the white cross on the bottom.
Step 2: First Layer
The next step to do after creating the cross is to finish the first layer. Many people made the mistake of solving the Rubik’s cube color by color, which is a lot harder than solving layer by layer.
Before solving the first layer, you have to memorize two sequences of 4 moves first. They are very simple and easy to memorize. They are also very important for the later steps.
By repeating one of these sequences 6 times, the cube will return to the same state before you do the moves.
Note: The sequence below is shown with yellow on top and blue in the front. You will need to memorize the moves, not necessarily the cube orientation.
Left-Hand Sequence
Right-Hand Sequence
We will solve the first layer using these 4-move sequences.
Find a white-corner piece on the top layer. Turn the top layer to match that corner piece’s color to its surrounding centers. Don’t worry about the yellow center.
Note: A corner is a piece with 3 colors on it.
These are 3 cases you can get:
The white-red-blue corner is between the red and blue centers.
The white-orange-green corner is between the orange and green centers.
The white-red-green corner is between the red and green centers.
The white-red-blue corner is between the red and blue centers.
The white-orange-green corner is between the orange and green centers.
The white-red-green corner is between the red and green centers.
The white-red-blue corner is between the red and blue centers.
The white-green-orange corner is between the green and orange centers.
The white-red-green corner is between the red and green centers.
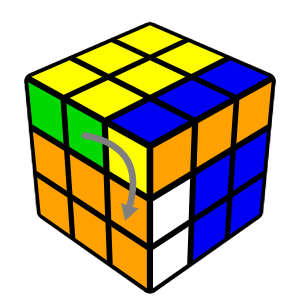
If a white corner piece is stuck at the bottom layer incorrectly, you can bring it to the top layer by holding it at the front/right, then do the right-hand sequence. Then match its colors with the centers.
Then hold the cube so that the corner piece is at the top right position, then do the Right-Hand sequence until the white color faces down.
Example:
The white-orange-green corner is between the orange and green centers.
Repeated these steps for the other white corners to finish the first layer.
Note: You can use the Left-Hand sequence to insert the corner into the first layer, you just need to hold the cube so that the corner is at the top left of you.
Step 3: Second Layer
After finishing the first layer, we will move on to solve the second layer. You will once again use the Right-hand and Left-Hand sequences to accomplish this, so make sure you are comfortable executing those moves.
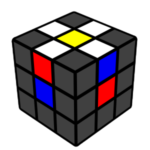
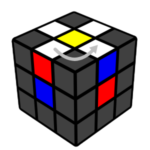
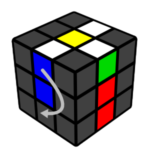
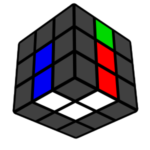
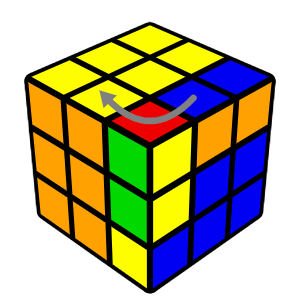
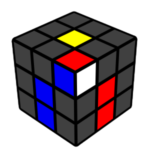
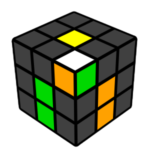
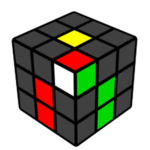
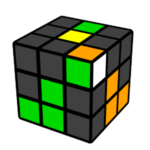
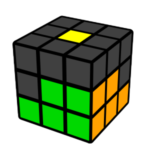
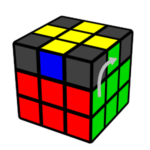
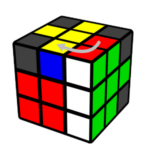
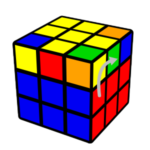
Find an edge piece without yellow on the top layer. Then rotate the top layer to match the color with a center.
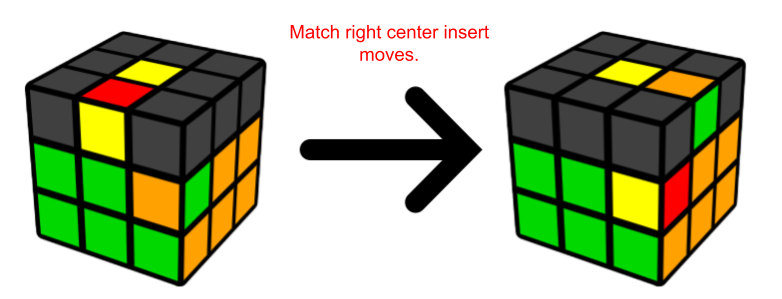
Face the piece and check if the top color is the same with the left center or the right center.
Example:
The top color is matched with the right center.
The top color is matched with the left center.
The top color is matched with the right center.
The top color is matched with the right center.
The top color is matched with the right center.
The top color is matched with the left center.
The top color is matched with the right center.
The top color is matched with the right center.
The top color is matched with the left center.
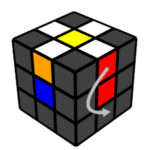
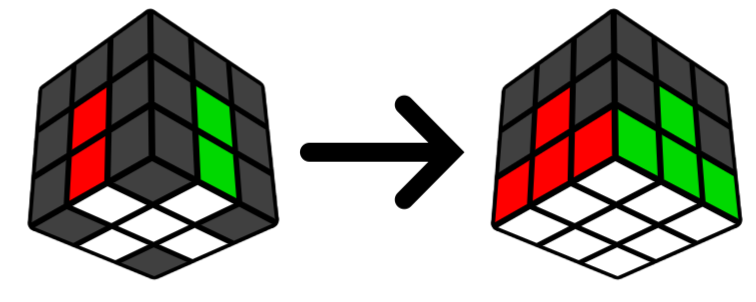
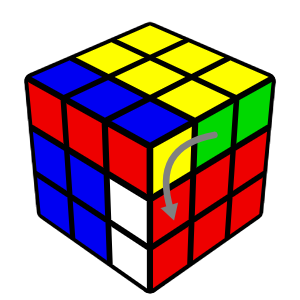
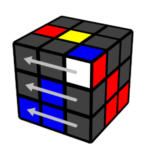
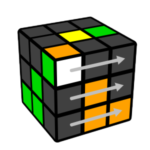
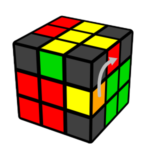
If it matched the right center, then do these following moves:
How to memorize:
Turn the top layer in the opposite direction of the matched center (left).
Right-hand sequence.
Rotate the cube to see the right side.
Left-hand sequence.
– Turn the top layer in the opposite direction of the matched center (left).
– Right-hand sequence.
– Rotate the cube to see the right side.
– Left-hand sequence.
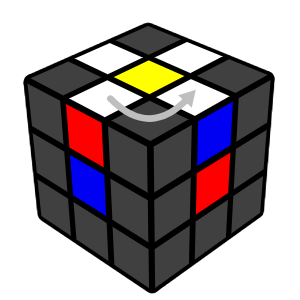
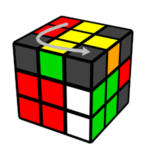
If it matched the left center, then do these following moves:
How to memorize:
Turn the top layer in the opposite direction of the matched center (left).
Right-hand sequence.
Rotate the cube to see the right side.
Left-hand sequence.
– Turn the top layer in the opposite direction of the matched center (left).
– Left-hand sequence.
– Rotate the cube to see the left side.
– Right-hand sequence.
If a non-yellow edge is stuck on the second layer, you can take it out by inserting any other edge on the top layer using either set of moves shown above. Then you can insert that edge into the right place like normal.
Example:
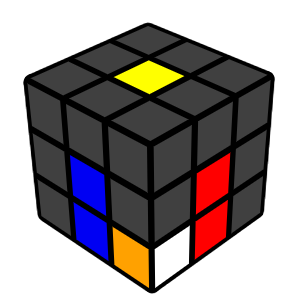
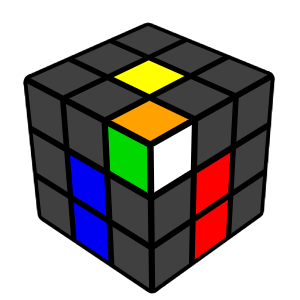
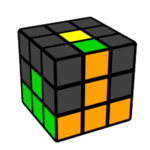
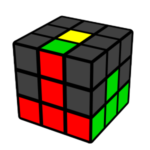
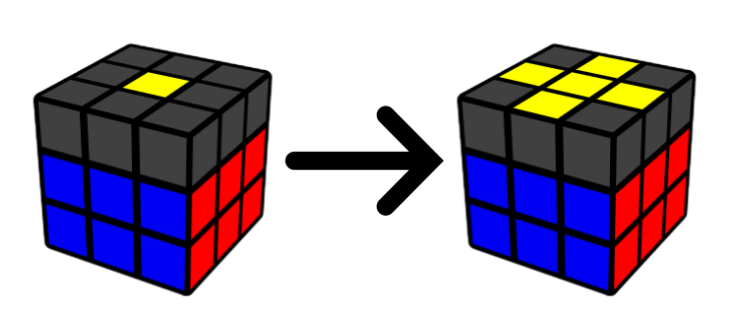
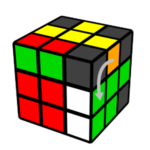
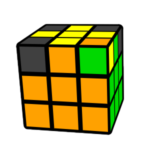
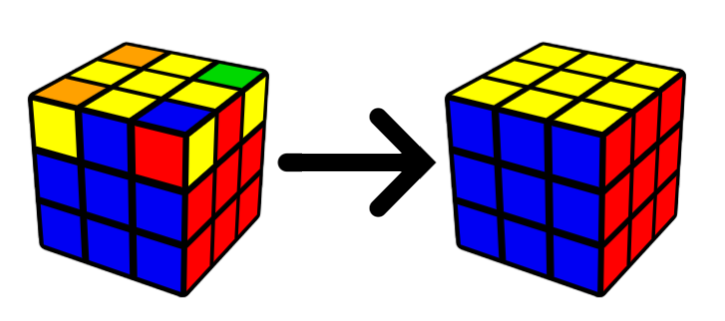
Step 4: Yellow Cross
After solving the first two layers, we will move on to solve the last layer, which starts with getting the yellow cross. This step is really simple and will use the Right-hand sequence once again.
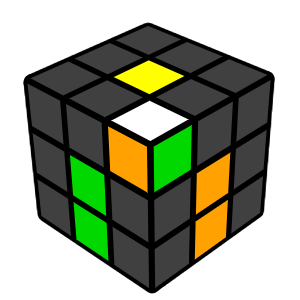
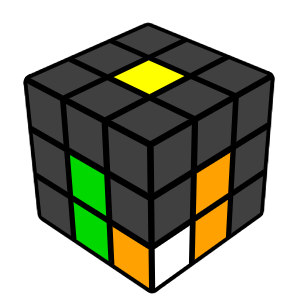
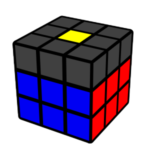
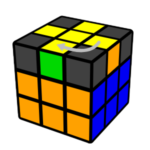
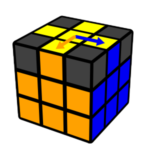
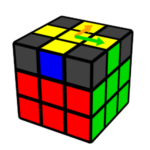
There are four cases that you get after finishing the first two layers. One of these cases is the cross itself, which lets you skip this step. The other three cases are listed below:
If you have one of these cases, hold the cube to match the top face’s orientation above (ignore the corners), the do the following moves.
How to memorize:
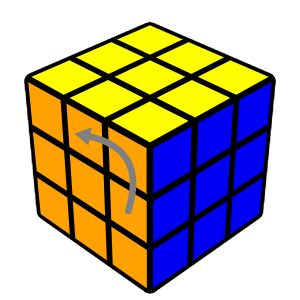
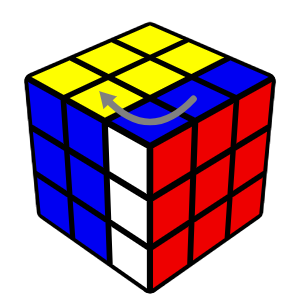
– Turn to the front face clockwise.
– Do the Right-hand sequence.
– Turn the front face counter-clockwise.
If the cross is not solved yet after you do these moves, hold the cube to match a new case and repeat the moves. (ignore the corners)
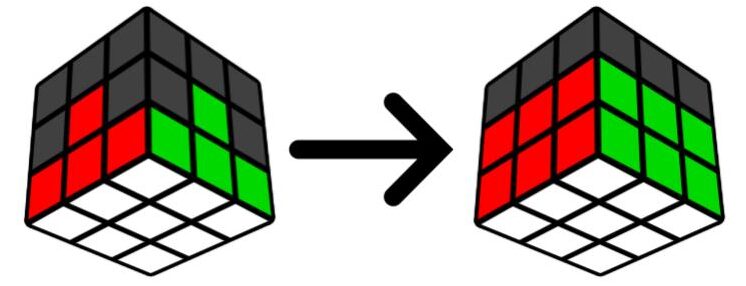
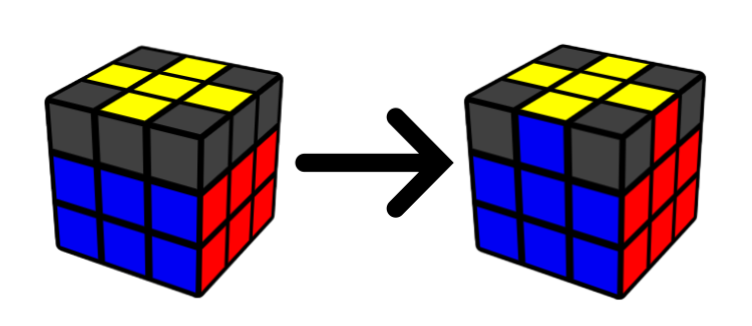
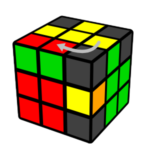
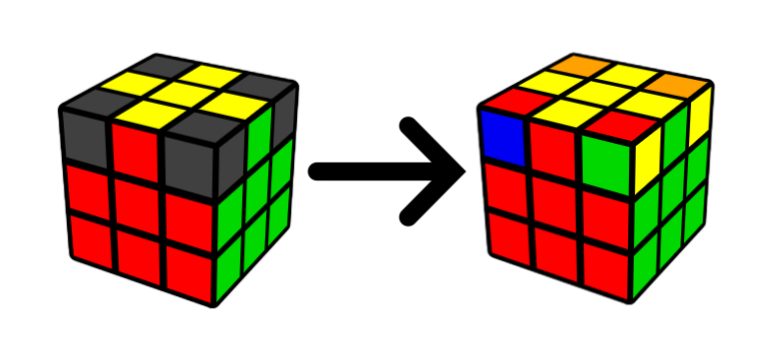
Step 5: Match Cross Edges
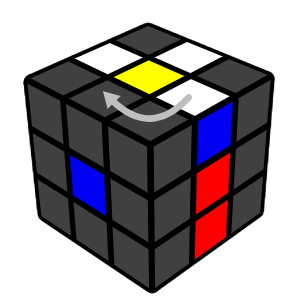
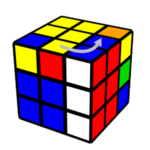
After getting the yellow cross, we will need to match the cross edges’ other colors to the same color center.
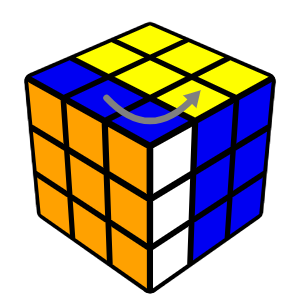
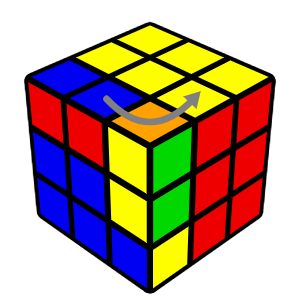
Turn the top face until 2 cross edges match the side’s center colors.
(If you match all four edges with all four side centers, you skip this step)
If the match edge is next to each other, hold them at the back/right position.
If they are opposite from each other, hold them in any way.
Then do the following move:
Then turn the top face again get two cross edges match the side’s center again, if all four edges match, you finished this step, if not, repeated this step.
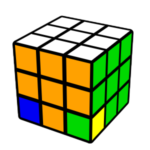
Step 6: Place Corners To Right Place
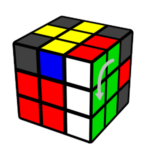
After matching the cross edges to the side centers, we will place the corners in the right place. It needs to be in the right place, but not necessarily the right orientation.
Note: Right place vs. Right orientation
This corner is in the right place, wrong orientation.
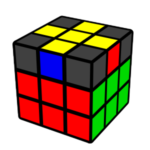
This corner is in the right place and right orientation.
Again, we only need to take the corners to it right place in this step.
First, you will find a corner already on the right and hold it in front, on top, and to the right of you.
If you can’t find any corner already in the right place, hold the cube so that the yellow cross is on top.
Examples:
The do the following moves:
How to memorize:
– Turn to the Left
– Up Right
– Turn to the Right
– Up Left
– Turn to the Left
– Down Right
– Turn to the Right
– Down Left
If there are still corners in wrong place, repeat this step.
Step 7: Orient Corner
This is the last step to solve the Rubik’s cube, you are nearly there. Once again, we will use the Right-Hand Sequence to finish this step
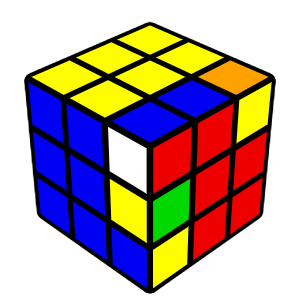
At this step, you can have either 0, 2, 3, or 4 corners with incorrect orientation. If you have 0, then the cube is solved, and you skip this step. However if you have other numbers of incorrect orientation corners, then do hold the cube so that the white face is facing up, with one of the unsolved corners on the right and in front.
Note: If there is only 1 unsolved corner, and all other parts of the cube are solved, then your cube has a corner twisted, and is unsolvable, you will need to reassemble or twist the unsolved corner to solve the cube.
Example:
There are two solved corners, and one of them is on the right and in front.
The unsolved corner is on the right, and infront.
There are 2 orientation that the unsolved corner can have when you place it in this position:
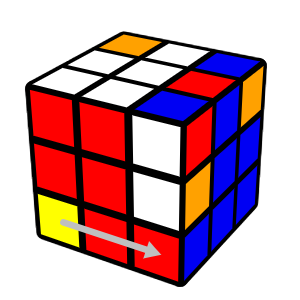
The yellow is on the right side
The yellow is on the front side
If the yellow is on the right side, do the Right-Hand sequence twice. If the yellow is on the front side, then do the Right-Hand sequence 4 times.
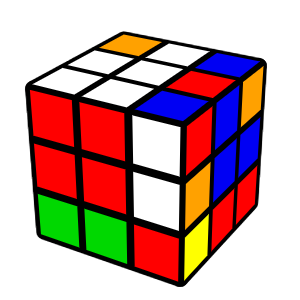
After this, turn the bottom layer so the next unsolved corner into the right-front position. Then compare which orientation the unsolved corner is, and perform the necessary amount of Right-Hand sequence as stated above.
Repeat this part for other unsolved corners.
Important Note: Only turn the bottom layer, not rotate the whole cube.
Example:
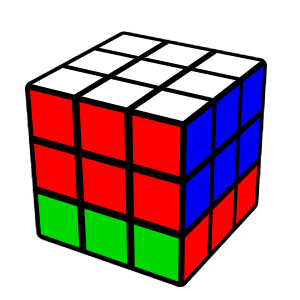
If you follow this guide closely, you should be able to solve your first Rubik’s cube, and if so, Congratulations.
If your cube is not solved, you may messed up at some part in this guide, but don’t give up, and give it another try.
Finally, if you want to be faster at solving the cube, remember to practice. Using this method with practice you will be able to solve the Rubik’s cube in 2-4 minutes or even faster, as low as under 1 minute. However, if you want to get faster, I highly recommend you to learn the CFOP Method after you have mastered the step-by-step (beginner method) method.